A loose button is easiest to sew back on before it disappears: the old thread holes show you where it belongs. If it has already come off, keep it and check inside the garment for a spare. A needle, thread and a few minutes may be all you need to wear the item again.
You can handle many everyday clothing repairs by hand. Work in good light and look closely at the damage before choosing a fix. The repair needs to hold through wear and washing; it does not have to be invisible.
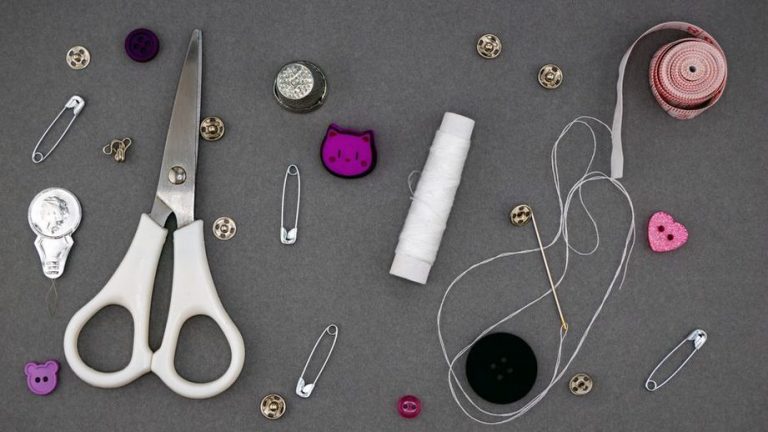
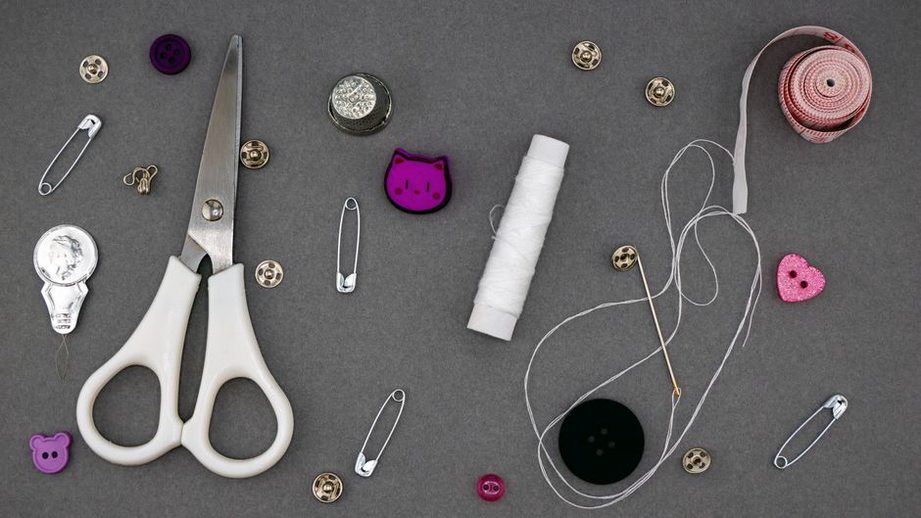
Build a small repair kit
- Hand-sewing needles in a few sizes, plus a needle threader if threading is difficult
- All-purpose thread in colours that match the clothes you wear most
- Small, sharp scissors for thread and fabric
- Straight pins or sewing clips, a measuring tape and a thimble
- Spare buttons and a small piece of iron-on or sew-on patch fabric
Matching thread helps a repair blend in, but strength matters more for seams and buttons. All-purpose polyester thread is a useful starting point for woven garments. For delicate fabric, use a finer needle and thread; forcing a thick needle through a tight weave can leave visible holes. If pins are awkward to handle, try sewing clips.
Check the care label before using an iron-on patch, and test it on an inconspicuous area. The guide to laundry care symbols can help you check whether ironing is suitable. A hot iron can damage heat-sensitive synthetics, coatings and decorative finishes.
Inspect the damage before you start
Turn the garment inside out and look beyond the obvious damage. A split seam follows an existing line of stitching; a tear cuts through the fabric. You can usually restitch the first, while the second may need a patch to support weakened fibres. Feel for thin fabric nearby, check whether the seam pulls tightly when worn, and look for other areas starting to fail.
If dirt would get in the way, wash or spot-clean the garment according to its label and let it dry fully. Smooth the fabric without stretching it. For a small repair, cut a length of thread roughly as long as your forearm to limit tangles. Knot one end, or secure it with a few small stitches on the inside.
Three useful first repairs
Reattach a button
Set the button over its original marks and bring the needle up from inside the garment. Sew through the holes and fabric several times. Keep the stitches firm, but leave enough room for the button to pass through its buttonhole. For a thicker coat button, hold a matchstick under the button as you sew to create a little space. Remove the matchstick, wrap the thread a few times around the stitches beneath the button, and secure it with small stitches on the inside. Fasten the button to check that the fabric does not strain.
Close a split seam
Turn the garment inside out and line up the original seam edges. Pin or clip them together. Start sewing a little before the split and continue a little beyond it, following the old stitch line with small, even backstitches. For each stitch, bring the needle up, stitch backward, then bring it up again farther along the seam. Backstitching makes a stronger line than a simple running stitch. Secure the thread at both ends, gently pull the seam to check for gaps, and trim any loose ends.
Fix a loose hem
If the care label permits ironing, press the original fold back into place. Working from the inside, catch a tiny amount of outer fabric with each stitch, then pass the needle through the folded hem. Leave the stitches loose enough for the hem to lie flat. A visible running stitch is fine on casual clothes; on a dressier garment, try to match the original hem.
When fabric needs reinforcement
For a small hole in sturdy woven fabric, try a patch on the inside. Cut it larger than the damaged area on every side and round the corners so they are less likely to lift. Pin it flat behind the hole and stitch around its edge. Secure any loose edges of the hole too, without pulling them together so tightly that the fabric puckers. On workwear or children’s clothes, a contrasting patch can look intentional.
A knee or elbow that is wearing thin may benefit from a patch before a hole opens. Stretchy knitwear is trickier: pulling the edges together tightly can limit stretch and lead to another tear. Choose a patch with similar stretch, or take a valued knit to a professional. Iron-on patches are convenient, but adhesive can loosen after repeated washing. Where the fabric allows, stitching around the edge can help the patch stay put.
Know when to stop or seek help
Some jobs are beyond a basic hand-sewing kit. A broken zipper, extensive damage to a lined jacket, a tear beside a heavily stressed pocket or several thinning areas may need a tailor or alterations service. They can help you judge whether the repair is practical. If it costs more than a replacement, consider the garment’s fit, comfort and how often you wear it as well as the price.
Do not rely on a home repair for protective clothing if its performance depends on intact fabric, seams or coatings. Follow the manufacturer’s instructions for items such as high-visibility gear and weatherproof outerwear. On ordinary clothes, test your stitch in an inconspicuous spot first if the fabric is slippery, delicate or loosely woven.
When you finish, turn the garment right side out and try it on. Bend or move the repaired area; a seam that looks tidy on the table may pull when worn. If it holds comfortably, trim the thread tails close to the securing stitches. Return any spare buttons to your kit so you know where to find them next time.