
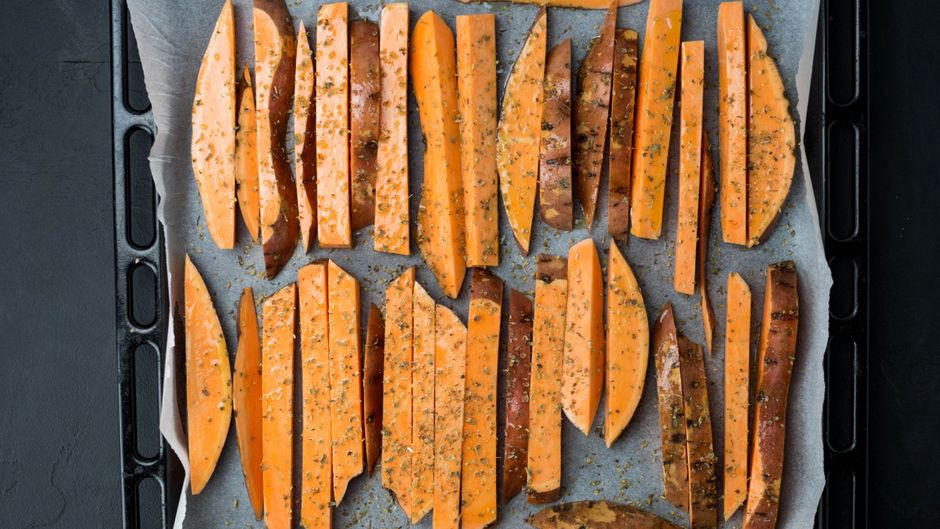
Every now and then a recipe lands in the comments that feels like a quiet victory — no fuss, no exotic ingredients, just a method that actually works. The "super simple thick cut paleo fries" posted by a reader on March 12, 2014, is exactly that. The comment thread that followed turned into a small, helpful conversation about home-fry technique, fat choices, and how to get a crispy exterior without turning the kitchen into a smoke-filled disaster zone. I’ve made these fries more times than I can count, and they deserve their own page.
Why Thick Cut Matters for Digestive Comfort
Thin fries — the shoestring or julienne kind — tend to absorb more cooking fat and can turn mushy if not handled precisely. Their high surface-area-to-volume ratio also means they cook faster, often requiring a higher temperature that can burn the natural sugars in root vegetables. For anyone following a paleo or elimination-style diet, especially those managing bloating or food sensitivity, thick cuts offer two advantages: they require less vigilant timing, and their lower surface area reduces the amount of rendered fat absorbed during cooking. Less absorbed fat means a lighter load on digestion, which can make a difference for people who notice discomfort after fatty meals.
Many of the original commenters on that 2014 thread mentioned that switching from thin to thick fries solved their recurring issue of feeling "heavy" after a potato-heavy meal. That observation aligns with what we discuss in Why Paleo Can Still Cause Bloating (And How to Fix It) — sometimes the problem isn't the food itself but how we prepare it.
The Original Reader Recipe (Slightly Adapted)
The comment that started it all — posted by a user named "MountainMama" — was refreshingly simple. No brine, no parboiling, no cornstarch substitute. She wrote: "Cut potatoes into thick wedges. Toss with tallow. Salt. Bake at 400°F for 40 minutes. Flip once. Done." Over the next several days, other readers chimed in with their own small modifications, and what emerged is a reliable base method. Here is my adaptation, tested across a dozen batches:
- Potatoes: Sweet potatoes or white-fleshed varieties like Yukon Gold. Sweet potatoes tend to hold their structure slightly better; Yukon Golds give a creamier interior. Russets also work but need a bit more attention because their lower moisture content can lead to drying.
- Fat: Rendered tallow, duck fat, or ghee. Coconut oil can work but confers a slight sweetness that some readers felt overwhelmed the potato. Tallow was the crowd favourite in the comments for its neutral flavour and high smoke point.
- Cut: Wedges roughly 2½ cm (1 inch) at the thickest part. No need to be precise — uneven cuts actually add texture variety.
- Soak? The original commenter did not soak. A few later replies tried a 30-minute cold-water soak and reported a slightly fluffier interior. If you have time, try it; if not, skip it.
- Seasoning: Fine sea salt, black pepper, and optionally a pinch of smoked paprika or garlic powder. No sugar, no starch.
- Baking: 400°F (200°C) for 40 minutes, flipping halfway. For extra crispiness, the last 10 minutes can be done with the oven on convection or broil, but watch closely — sugar in sweet potatoes can burn quickly.
What the Comment Thread Revealed About Technique
The real value of that March 2014 conversation was how readers problem-solved together. Several people reported soggy results and others stepped in with troubleshooting. The most useful corrections were:
- Spacing matters. Overcrowding the tray traps steam. The fries that touched each other turned out limp; the ones with breathing room crisped beautifully. Use two trays if needed, and rotate them between racks halfway through.
- Fat temperature. Tossing the raw wedges with cold fat before placing them in the oven is standard. But one reader pointed out that preheating the fat in the baking dish for 10 minutes before adding the potatoes gave a much better sear on the bottom side. I tried this and it works — just be careful when adding the wedges to hot fat to avoid spattering.
- Flip only once. Multiple flips break the developing crust. The consensus was one flip at the 20-minute mark, then leave them alone.
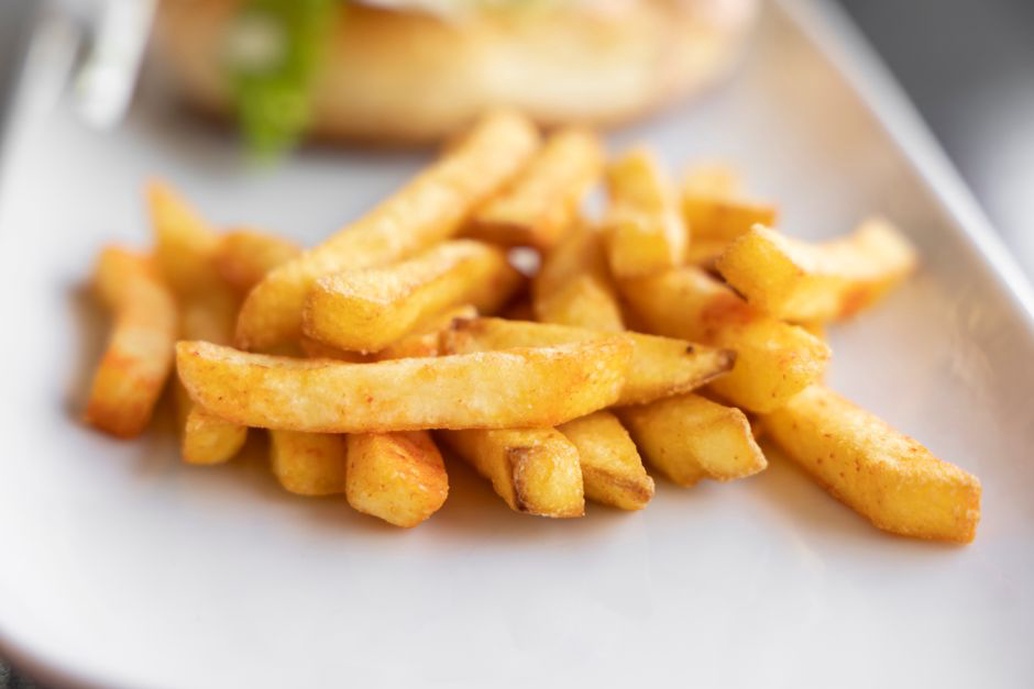
Choosing Your Potato Wisely
Not all tubers agree with every digestive system. If you are in the early phase of an elimination diet or have identified potato sensitivity, this recipe works equally well with parsnips, carrots, or celeriac. The cooking time will shift: parsnips and carrots cook faster (around 25–30 minutes), and celeriac may need a bit longer. The key is to cut them thick and keep the oven temperature the same. I have also made a mixed tray with half sweet potato and half celeriac, and it was a pleasant change of pace.
If you are new to experimenting with reintroductions after an elimination phase, this recipe makes a gentle test meal because the ingredients are minimal and the fat content is moderate. Keep a simple food and symptom log — date, portion size, and any notes on how you felt in the two hours after eating. That kind of data is invaluable when you are trying to distinguish a true reaction from background variability. The post Down the Rabbit Hole: When Elimination Diets Reveal Hidden Intolerances goes into detail on how to structure those reintroduction trials without second-guessing yourself.
A Note on Cooking Fat and Oxidative Stability
One of the quieter themes in the comment thread was fat quality. A handful of readers noted that rendered animal fats (tallow and duck fat) produced fries that reheated better the next day, while vegetable oils (even supposedly stable ones like avocado oil) seemed to leave a stale aftertaste. This makes sense from a lipid chemistry perspective: saturated and monounsaturated fats are less prone to oxidation at baking temperatures than polyunsaturated fats. For someone who meal-preps or makes a large batch to eat over two days, choosing a stable fat improves both flavour and the likelihood of digestive comfort. If you tolerate nightshades well and want to use ghee, it also works here — just keep in mind that ghee's smoke point (around 485°F or 250°C) is higher than the baking temperature, so it remains stable throughout the cook.
Serving Suggestions That Honour the Original Recipe
The 2014 thread did not include any elaborate dipping sauces. Most people just ate the fries as a side to a burger patty, grilled chicken, or a simple green salad with lemon and olive oil. A few commenters mentioned mashing an avocado with lime juice and salt for a quick, dairy-free dip that added fat without overpowering the fries. For me, the most useful tip came from a reader who suggested sprinkling a little flaky sea salt over the fries the moment they come out of the oven, while the fat is still sizzling — the salt sticks better and provides a satisfying crunch.
These fries are not a magic bullet for digestive issues, and they were never presented as one. They are simply a reliable, low-ingredient side dish that fits a paleo template, can be adapted for elimination phases by swapping the vegetable, and relies on basic technique rather than strange substitutions. The comment page from March 12, 2014, remains one of the most genuinely helpful recipe threads I have come across, precisely because nobody claimed to have discovered the "perfect" fry. They just shared what worked for them, tested it, and quietly refined the method. That is exactly the kind of practical, low-drama cooking that fits well with a gentle approach to nourishing your body.