
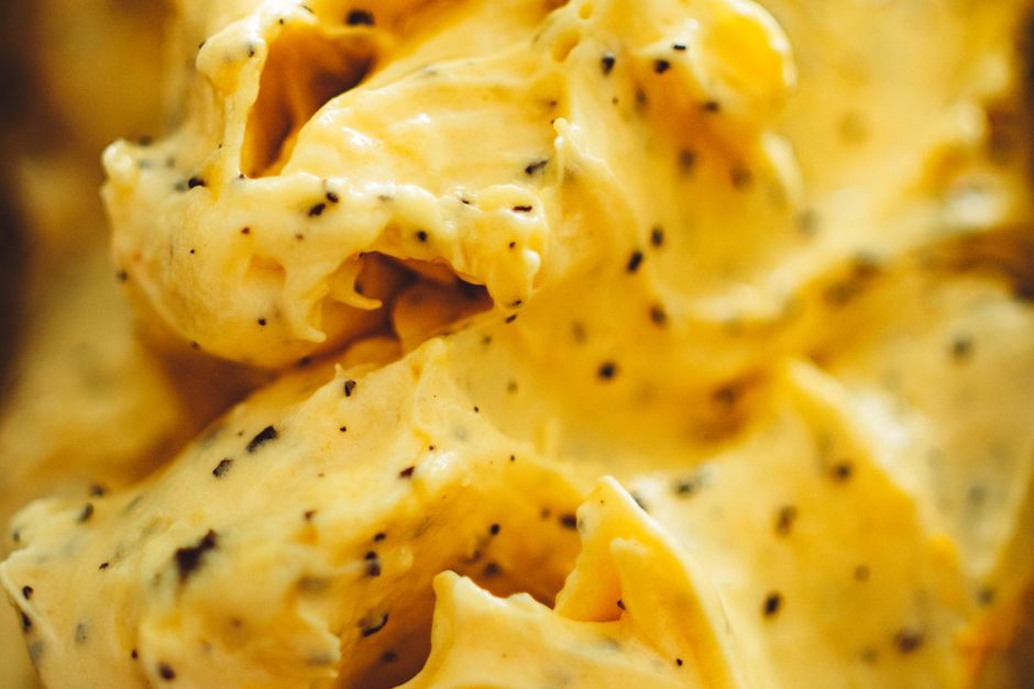
In early 2014, I found myself staring at a half-pint of expensive coconut milk ice cream, wondering why my stomach felt tight and heavy after just a few spoonfuls. I had been following a strict elimination diet for six weeks—no dairy, no grains, no legumes, no eggs, no nuts—and the craving for something cold, creamy, and sweet had become almost unbearable. Store-bought paleo-friendly ice creams were either loaded with guar gum and carrageenan (both known triggers for sensitive guts) or sweetened with agave syrup, which spiked blood sugar and left me hungrier than before.
So I went into the kitchen determined to create a frozen dessert that would satisfy the craving without undoing the careful work of reducing bloating and identifying food triggers. What emerged after several batches—some icy, some too hard, some oddly greasy—was a simple formula that became a staple in my gut-healing process. This article shares that recipe, the reasoning behind each ingredient choice, and practical tips for adapting it to your own tolerance levels.
Why Most Paleo Ice Creams Fail the Gut-Friendly Test
The challenge with dairy-free ice cream is structural. Regular ice cream relies on milk fat, egg yolks, and stabilizers to create a smooth, scoopable texture. When you remove dairy and eggs—as many of us do during an elimination diet or while managing autoimmune symptoms—you lose both the fat structure and the emulsifying power of lecithin from egg yolks. Manufacturers compensate by adding gums (guar, locust bean, xanthan) that can ferment in the gut and cause gas, bloating, or even loose stools in sensitive individuals.
My goal was to avoid:
- Carrageenan (linked to intestinal inflammation in some studies)
- Guar gum and xanthan gum (common fermentable fibers that feed gut bacteria unevenly)
- Refined sugars (agave, cane syrup, brown rice syrup)
- Dairy in any form (casein and whey are common triggers)
- Egg yolks (a known sensitivity in some autoimmune conditions)
Instead, I wanted a base that provided stable fat, minimal fermentable carbohydrates, and a gentle sweetness that wouldn't cause reactive hypoglycemia or cravings.
The Winning Formula: Coconut Cream + Gelatin + Maple Syrup
The final recipe used only four main ingredients, plus optional flavor additions. Here is the core formula I settled on after testing:
Base Ingredients
- 1 can (13.5 oz) full-fat coconut cream (not coconut milk—the thick, creamy top layer from a refrigerated can of full-fat coconut milk works too)
- 2 tablespoons grade B maple syrup (lower glycemic index than grade A, with more minerals)
- 1 teaspoon vanilla extract (alcohol-based, not imitation)
- 1/2 teaspoon grass-fed beef gelatin (this was the key to texture without gums)
Optional Flavor Additions
- 2 tablespoons unsweetened cocoa powder (for chocolate version)
- 1/2 cup mashed ripe banana (for a sweeter, fruit-sweetened version—but be mindful of FODMAPs)
- Pinch of sea salt (enhances sweetness and balances electrolytes)
Why Gelatin Works Better Than Gums
Gelatin is a protein derived from animal collagen. When dissolved in warm liquid and then chilled, it forms a delicate gel that prevents large ice crystals from forming. Unlike gums, gelatin does not ferment in the colon—it is fully digestible and actually supports gut lining health. For anyone following an autoimmune protocol or managing leaky gut, gelatin is a far better choice than plant-based stabilizers.
I used grass-fed beef gelatin from a brand I trusted. If you react to beef, you can try fish gelatin, though the setting properties differ slightly. The key is to bloom the gelatin in cold water first, then dissolve it in a small amount of warm coconut cream before mixing everything together. This prevents clumps.
Step-by-Step Method
- Bloom the gelatin: Sprinkle 1/2 teaspoon gelatin over 1 tablespoon cold water in a small bowl. Let sit for 5 minutes until it looks like firm jelly.
- Warm the coconut cream: In a small saucepan, gently warm 1/4 cup of the coconut cream over low heat. Do not boil. Add the bloomed gelatin and stir until completely dissolved.
- Combine all ingredients: In a blender or mixing bowl, combine the gelatin-cream mixture with the remaining coconut cream, maple syrup, and vanilla. If making chocolate, add cocoa powder now. Blend on low until smooth.
- Chill thoroughly: Pour the mixture into a glass bowl or jar and refrigerate for at least 4 hours, ideally overnight. The mixture needs to be fully cold before churning.
- Churn (if using an ice cream maker): Pour the chilled base into your ice cream maker and churn according to the manufacturer's instructions—usually 20–25 minutes. The gelatin will help create a softer, creamier texture than coconut cream alone.
- No ice cream maker? No problem: Pour the chilled base into a shallow freezer-safe dish. Freeze for 45 minutes, then stir vigorously with a fork to break up ice crystals. Repeat every 30 minutes for 2–3 hours until you reach a soft-serve consistency. This method works, but the texture will be slightly icier than churned.
- Hardening: Transfer the churned or hand-stirred ice cream to a container, press a piece of parchment paper directly onto the surface (to prevent ice crystals), and freeze for another 2 hours before serving.
Nutritional Profile and Gut Considerations
Per serving (about 1/2 cup, made with the base recipe): approximately 220 calories, 22 grams fat (mostly medium-chain triglycerides from coconut), 6 grams carbohydrates (mostly from maple syrup), and 2 grams protein from gelatin. This is a nutrient-dense treat that provides quick energy from MCTs without spiking blood sugar.
For those on a strict elimination diet, this recipe is free of the top eight allergens (dairy, eggs, soy, wheat, peanuts, tree nuts, fish, shellfish) if you use certified gluten-free vanilla and avoid the banana option (which contains cross-reactive proteins for some with latex allergy). It is also low in fermentable carbohydrates—perfect for those who found that even fruit-based treats triggered bloating during their Paleo for Gut Health: A Practical Guide to Reducing Bloating and Finding Your Triggers.
What This Recipe Taught Me About Reintroduction
Making this ice cream became a small ritual during my elimination phase. It reminded me that restriction does not have to mean deprivation—but it also taught me something more important: the way we reintroduce foods matters as much as the foods themselves.
After eight weeks on the elimination diet, I tried adding a small amount of raw goat milk to this recipe. The first time, I used only two tablespoons. My digestion stayed calm. The second time, I used half a cup—and within an hour, I felt the familiar tightness and gas that had plagued me before. This experience, documented in my symptom journal, helped me realize that my dairy sensitivity was dose-dependent, not absolute. That insight changed how I approached Down the Rabbit Hole: When Elimination Diets Reveal Hidden Intolerances.
Practical Tips for Customizing to Your Tolerance
- If coconut is a problem: Try canned tiger nut milk or homemade hemp milk, though you will need to increase the fat content with MCT oil or avocado to maintain creaminess.
- If you tolerate eggs: You can add one pastured egg yolk to the base before chilling—this adds emulsifiers and richness without the need for gelatin.
- If maple syrup causes reactions: Use 1–2 tablespoons of raw honey (not for infants) or 1/2 teaspoon of stevia glycerite. Note that honey contains more fructose and may cause gas in some people.
- If you need to avoid all sweeteners: Blend in 1/2 cup of well-mashed ripe pear or peach, but be aware that fruit adds FODMAPs. Start with a small portion and observe symptoms.
- To reduce salicylates: Skip the vanilla extract and cocoa powder. Use a pinch of salt and a tiny amount of fresh vanilla bean scrapings instead.
Why This Recipe Still Matters Today
I still make this ice cream now, years later, even though my gut has healed enough to tolerate small amounts of high-quality dairy. The reason is simple: it tastes genuinely good—creamy, rich, and satisfying—without relying on processed ingredients or hidden triggers. It also taught me a deeper lesson about cooking for a sensitive digestive system: the best recipes are those that work with your body's current limitations, not against them. When you understand the mechanics of why certain ingredients cause symptoms, you can build alternatives that nourish without provoking.
If you are in the middle of an elimination diet and craving something cold and sweet, try this recipe. It may not be the exact ice cream you remember from before—but it might become the one your gut actually thanks you for.