If a photo looks hazy, check the lens before changing camera settings. A fingerprint can soften the whole image, especially when a bright window or lamp is in the frame. Wipe the lens gently with a clean microfiber cloth, then take a test shot. If the haze is gone, leave the settings alone.
Find better light before changing settings
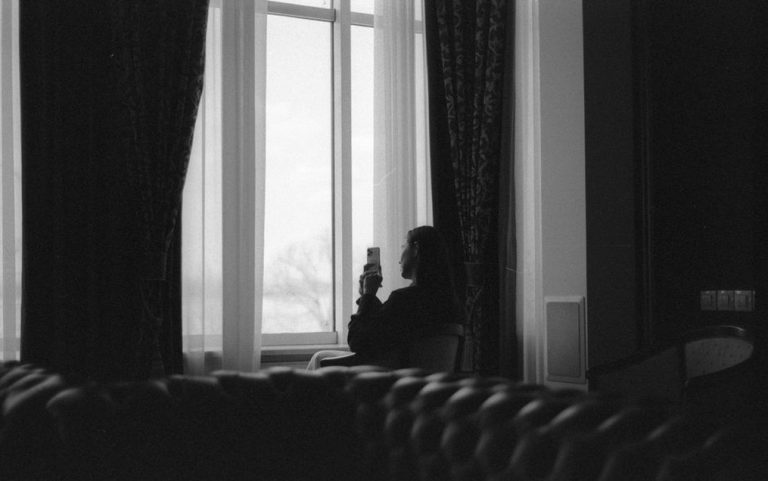
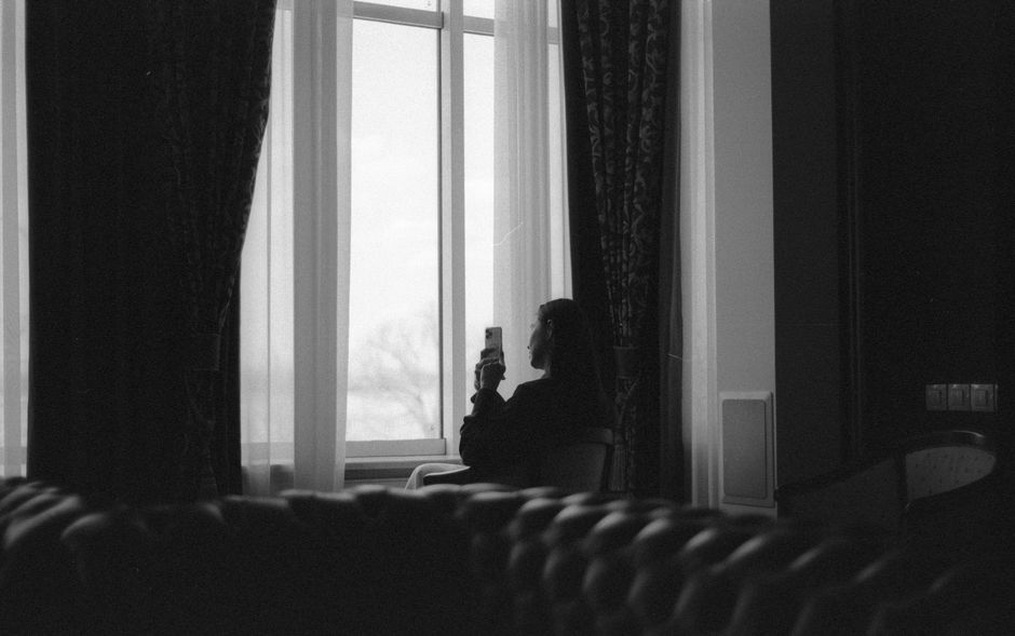
Light makes a bigger difference to a phone photo than most edits can fix. Indoors, try moving your subject closer to a window. Turn off harsh overhead lights if they create odd colors or deep shadows. Soft daylight from the side can show texture without washing it out. If the window is behind your subject, tap the subject on the screen to brighten it—or move until the window is off to one side.
Outdoors, midday sun can make people squint and leave dark shadows under their eyes. The edge of a building’s shadow often gives you more even light. With a still object, walk around it for a moment. A few steps may be enough to get rid of a glaring reflection.
In dim light, rest the phone on a steady surface or brace your elbows against your body. Night mode gathers more light but takes time, so a moving subject may blur. For a person or pet, a nearby lamp may work better than a longer exposure. If the lamp is too harsh, try bouncing its light off a pale wall rather than pointing it straight at a face.
Choose one subject and simplify the frame
Decide what matters in the picture before you press the shutter. A cluttered background can pull attention away from a person, a plate of food, or a small object even when that subject is sharp. Shift your position to put a plain wall, clear sky, or an uncluttered surface behind it. Then scan the edges of the screen for stray bags, bright signs, or objects that seem to grow out of someone’s head.
Grid lines, available in most camera settings, can help you level a horizon or place a subject off-center when the space around it adds context. They’re guides, not rules; a doorway or symmetrical building may look best centered. For a meal, take one photo that shows the whole plate, then move closer for another that shows its texture.
Move your feet before using zoom
Pinching to zoom often just enlarges a digital crop, which loses detail. A phone with a separate telephoto lens may do better, though that lens can struggle in low light. Step closer when it’s safe and practical. For portraits, don’t get so close with a wide lens that facial features look stretched. Take a step back and try a modest zoom or a portrait lens if your phone has one.
Your height matters, too. Get closer to a child’s or pet’s eye level, or lower the phone to set a small object against a more distant background. When photographing a document, shelves, or a building, keep the phone as parallel to the surface as you can to reduce skewed lines.
Tell the camera where to focus
Your phone makes quick guesses about focus and brightness, but the nearest or brightest thing may not be what you want to photograph. Tap the screen on your subject—usually a face in a portrait, or the part of a flower you want sharp. Many phones show a brightness slider after you tap. Bring it down a little if pale areas have lost detail, or raise it if the subject is too dark.
Some camera apps let you press and hold to lock focus and exposure. This keeps brightness from shifting while you take several frames of the same subject; release the lock when the distance or lighting changes. If the subject is moving, try a short burst or several individual shots instead of relying on one. More light also helps the camera use a faster shutter speed.
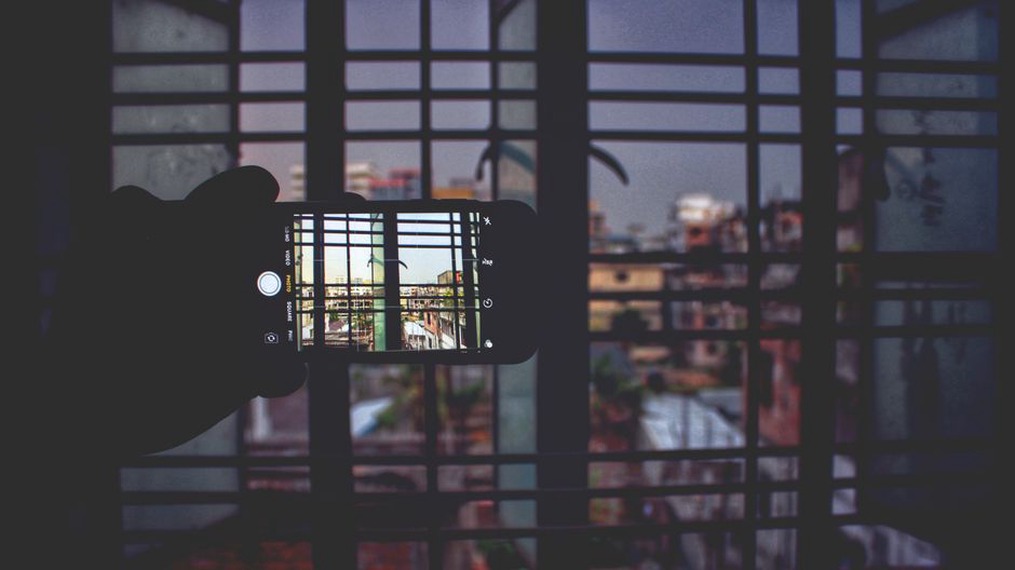
Use camera modes with a purpose
- Standard photo: A good starting point for most scenes when you want a quick shot without artificial background blur.
- Portrait mode: Useful for separating a person from a busy background. Check hair, glasses, and hands for uneven blur.
- Night mode: Best for fairly still scenes. Hold the phone steady until the capture finishes, and take another shot if something moves.
- Ultra-wide lens: Handy in tight spaces or for broad views, though people near the edges may look distorted. Keep important subjects closer to the center.
- Macro mode: Good for tiny details if your phone supports it. Leave room for light to reach the subject, and move slowly until focus settles.
Don’t rule out flash without trying it. It may help with a nearby subject in a dark room, but direct flash can leave shiny skin, hard shadows, or reflections in glass. Take a frame with flash off and another with it on, then compare them at full size.
Make small edits, then check the result
Cropping is often the most useful edit: straighten a horizon, cut out an awkward object at the edge, or bring attention back to your subject. Keep the original if you can, since a tight crop may leave too few pixels for a larger print. Small exposure and shadow adjustments can bring out detail, but brightening a dark photo too much can make noise more obvious.
Go easy on saturation and sharpening. Too much color can make food look unnatural; too much sharpening leaves pale outlines around edges. Compare the edit with the original before saving. If the original looks more believable, dial the adjustment back rather than adding another filter.
A quick practice exercise
Set a mug on a table and take three photos: one where it sits, one after moving it beside a window, and one beside the window with the background cleared. Tap the mug to set focus each time. Look at the shots side by side. You’ll see what the light and background changed without having to guess which camera setting made the difference.